Your publishing guide
In our previous blog post we showed you the basics of how to build your own app using PowerApps. Now we’re going to show you how to publish and share that app with users.
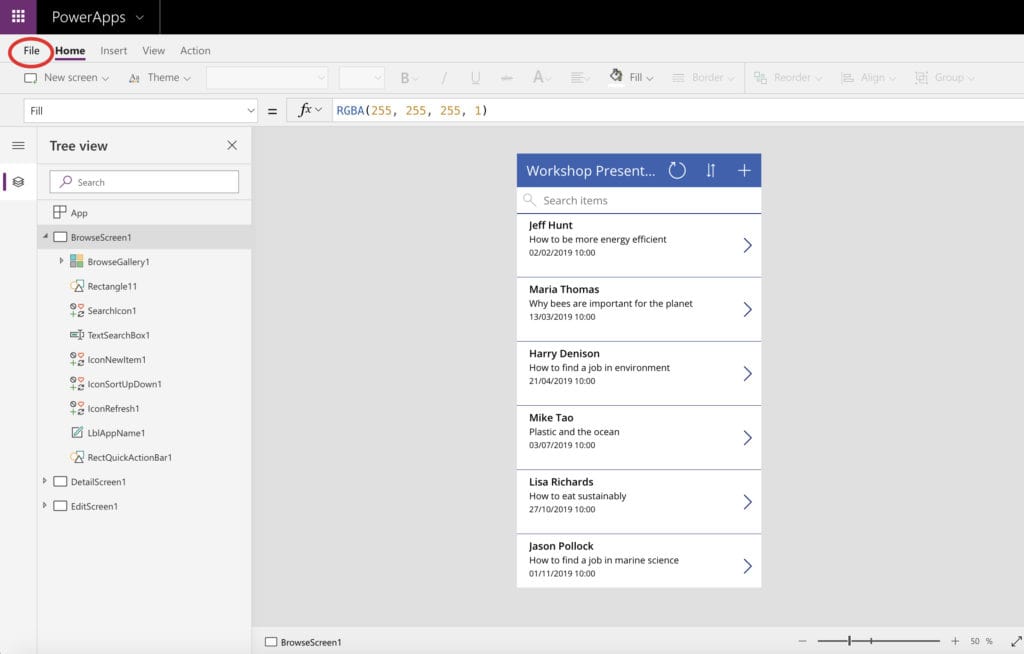
First we need to save our app by clicking File, then Save and give your app a name.

You can also click App settings in the menu under file to change your app icon colour, upload your own app icon and more.
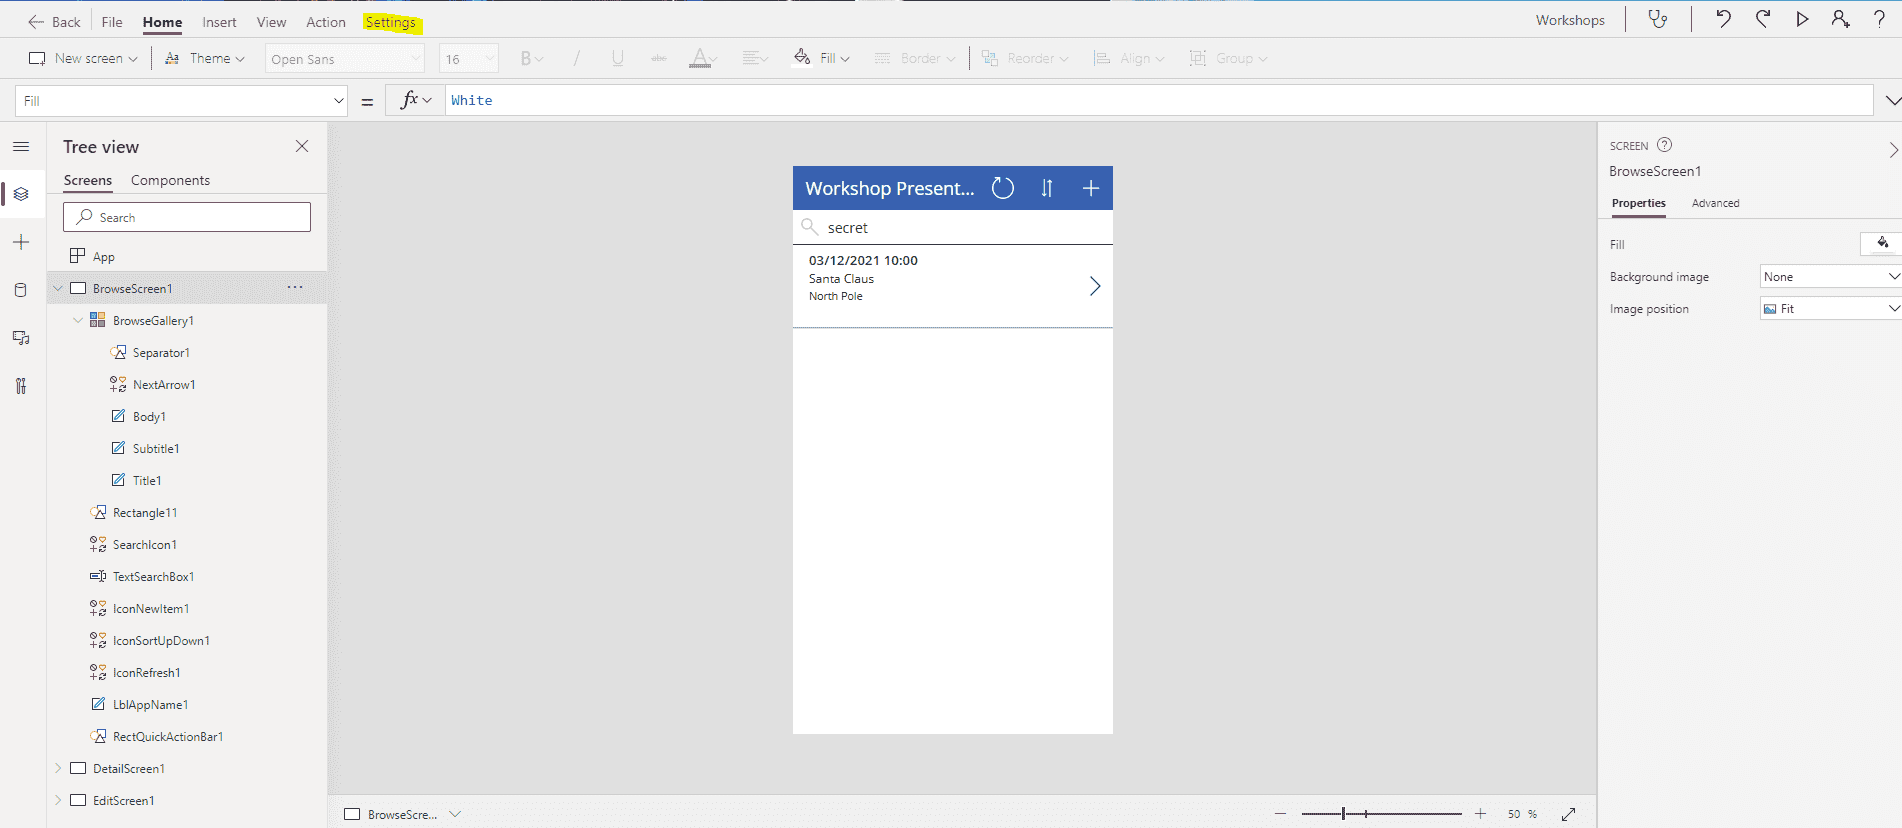
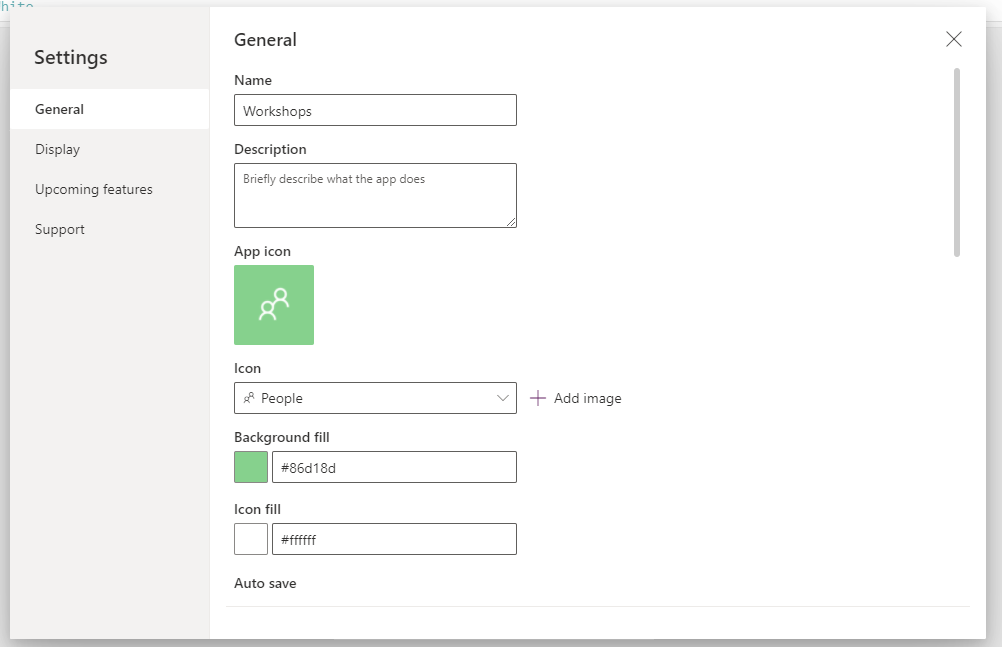
Under App settings you can also select your screen sizes and orientation. All the default settings are automatically saved and are recommended to follow in this example for beginners.
After you’ve had a look around these different settings, hit Save As and save the app to your cloud in PowerApps.
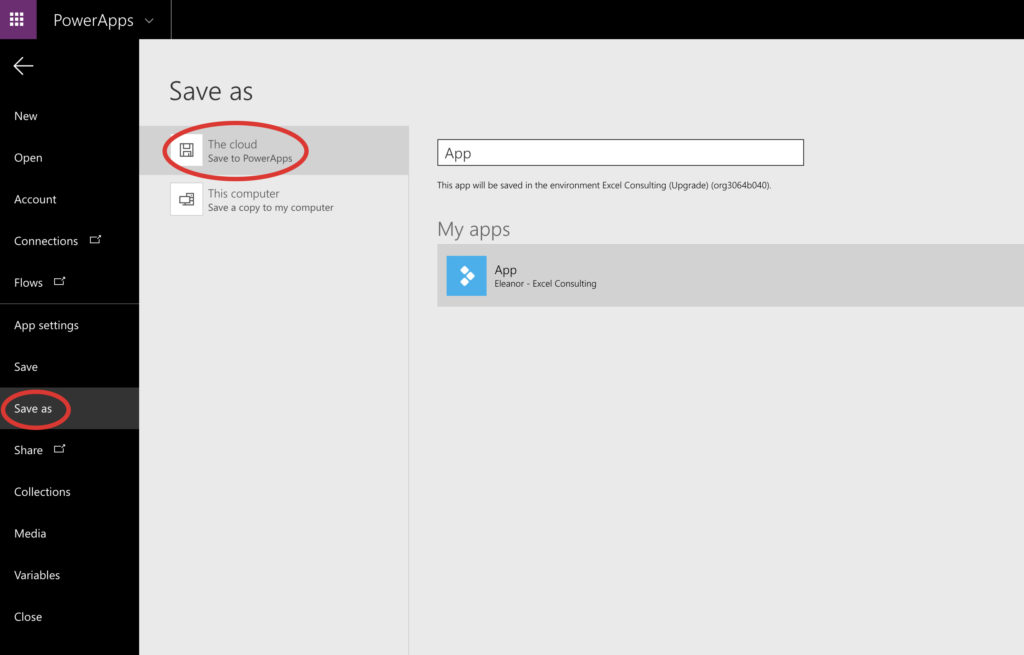
Now that it’s saved, you can publish your app!
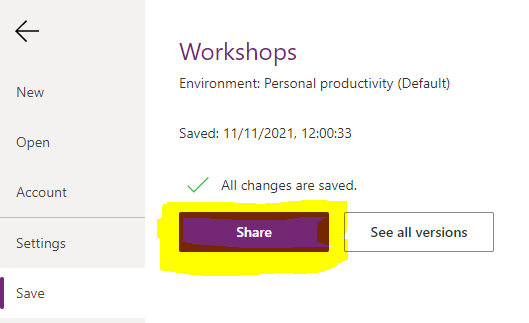 />
/>Once published, find 'Share' just under Save As in the menu bar. Click 'Share' to share your app with your users, send invites, and set permissions.
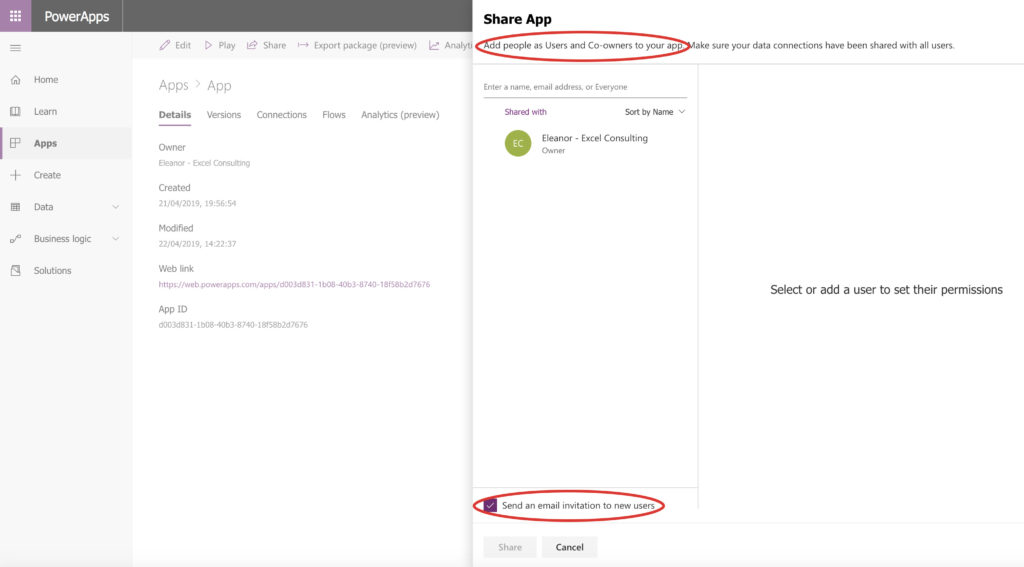
To use your app on mobile, simply download the PowerApps app to your phone, open it, and it will show your app. You will also find any other apps that are available for you to use. For use on the web, simply access your PowerApps homepage and click Apps in the left-hand navigation menu to find a list of your available apps.
To learn more about how to use PowerApps and how it can work for your business, check out our training courses across Australia.

 Australia
 New Zealand
 Hong Kong
 Malaysia
 Philippines
 Thailand
 Indonesia
