Australia
 New Zealand
 Singapore
 Hong Kong
 Malaysia
 Philippines
 Thailand
 Indonesia
From captivating posters to sleek magazine spreads, Adobe InDesign is your toolkit for transforming ideas into tangible, stunning visuals. Without delving into overly technical details, this guide introduces you to key features, equips you with essential tools, and leads you through the steps of producing your first layout. Prepare to transform a blank canvas into a visual masterpiece.
Adobe InDesign: Defined
Adobe InDesign is a leading desktop publishing software used for creating a variety of materials for print and digital media, equipped with a user-friendly interface but may have a learning curve and cost barrier for beginners.
The software hosts an extensive set of tools for layout design, including text and typography tools, image and graphics manipulation, and alignment and distribution features, enhanced by AI tools in the 2024 update to streamline the design process.
InDesign facilitates document creation with customisable workspaces, master pages, templates, and Creative Cloud integration, allowing for efficient design, collation, and sharing of digital and print content through various export options.
Getting Started with Adobe InDesign

Adobe InDesign is a premier page design software for desktop publishing and page layout design in both print and digital media. It’s widely used to create an array of materials, including:
-
Posters
-
Flyers
-
Magazines
-
Newspapers
InDesign, a design software, provides you with an arsenal of efficient, productivity-enhancing tools encapsulated within a user-friendly interface.
While it’s known for its user-friendly graphical interface, newcomers may find it a little challenging without proper guidance. And though it’s part of the premium software category, the cost might be a deterrent for some. But, remember, investing in a tool like InDesign can significantly elevate your design game.
System Requirements
Before diving in, make sure your system can handle the requirements. For Windows users, InDesign Server requires:
-
Windows Server 2019 or 2022
-
A multicore Intel or AMD Athlon 64 processor
-
8 GB of RAM (16 GB recommended)
-
3 GB of available hard disk space for installation.
Mac users need macOS version 11 (Big Sur) or later, a multicore Intel processor or Apple silicon, 8 GB of RAM (16 GB recommended), and 4 GB of available hard disk space for installation.
Both installations require internet access for license validation. Just bear in mind that InDesign Server isn’t supported on case-sensitive file systems, removable storage devices, and network drives.
Setting Up Your Workspace
When InDesign is already operational, start by personalising your workspace. The layout is flexible and can be adjusted to your preferences. You can reorganise and dock document windows. Panels can be added, removed, moved, collapsed to icons, or set to auto-hide with the Tab key to maximise workspace efficiency.
You can even create named custom workspaces to quickly switch between personalised layouts suited for different tasks. And when you no longer need a custom workspace, you can delete it to maintain a clutter-free environment.
Essential Tools for Layout Design
InDesign boasts an array of vital tools for layout design. Among the most important are:
-
Text and Typography Tools: They enable you to create typographic content, a key element of layout design.
-
Image and Graphics Tools: Essential for incorporating visual elements into your layout.
-
Alignment and Distribution Tools: Your allies in maintaining consistent and well-organised layouts.
Adobe InDesign 2024 introduces new AI tools, enhancing the layout design process by saving time on tasks traditionally done in Photoshop. This means you can now focus more on the creative aspects of your design.
Text and Typography Tools
The Type Tool, denoted by the letter ‘T’, is your primary tool for creating typographical content. With it, you can:
-
Create text frames on the page
-
Drag within the document window or add text to existing frames to create frames
-
Customise text using options such as font changes, weight adjustments, alignment, and paragraph styling
-
Access these options through the Character and Paragraph Formatting Controls panels
It also accommodates a wide range of font formats, ensuring versatility in font use and typographic design. You can even add placeholder text or import text from various file formats, maintaining the practical aspect of layout design before the final content is ready. Plus, character and paragraph styles, along with other attributes of text assets, can be preserved when reusing content across InDesign or Illustrator documents via CC Libraries.
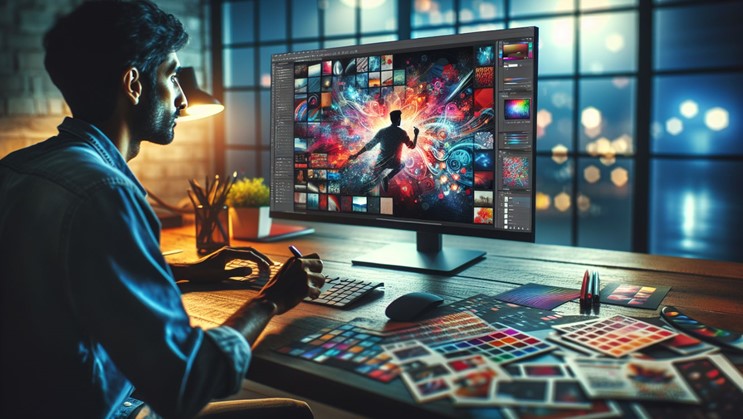
Image and Graphics Tools
Images and graphics play a crucial role in layout design, and InDesign provides an array of tools for their manipulation. Some of these tools include:
-
The Frame tool: essential for creating frames to place images and graphics, which can then be adjusted in size and shape to fit the layout’s needs.
-
The Pen tool: allows for the drawing of custom shapes and paths, enhancing graphic design capabilities within the layout.
-
The Pencil tool: offers a freeform path drawing alternative for a more organic touch.
These tools can greatly enhance your graphic design capabilities within InDesign.
Layered files such as PSDs or AIs can be managed effectively in InDesign, giving you control over which layers are visible in the final layout. The Gap tool is specifically used to resize objects or adjust gaps between them, maintaining consistent spacing for a more polished layout.
Alignment and Distribution Tools
A well-organised layout goes a long way in enhancing your design’s visual appeal. The Align panel in InDesign is a comprehensive tool used to organise elements on a page by aligning or distributing objects horizontally or vertically.
The Distribute options facilitate the equal spacing of objects, and the Use Spacing feature allows you to specify exact distances for distribution either from centres or edges of objects.
Smart Spacing and Live Distribute further streamline the alignment process, providing temporary alignment guides and allowing for proportional spacing adjustments among selected objects during transformation.
However, it’s worth noting that locked objects or the alignment of text paragraphs within their frames won’t be affected by the Align panel.
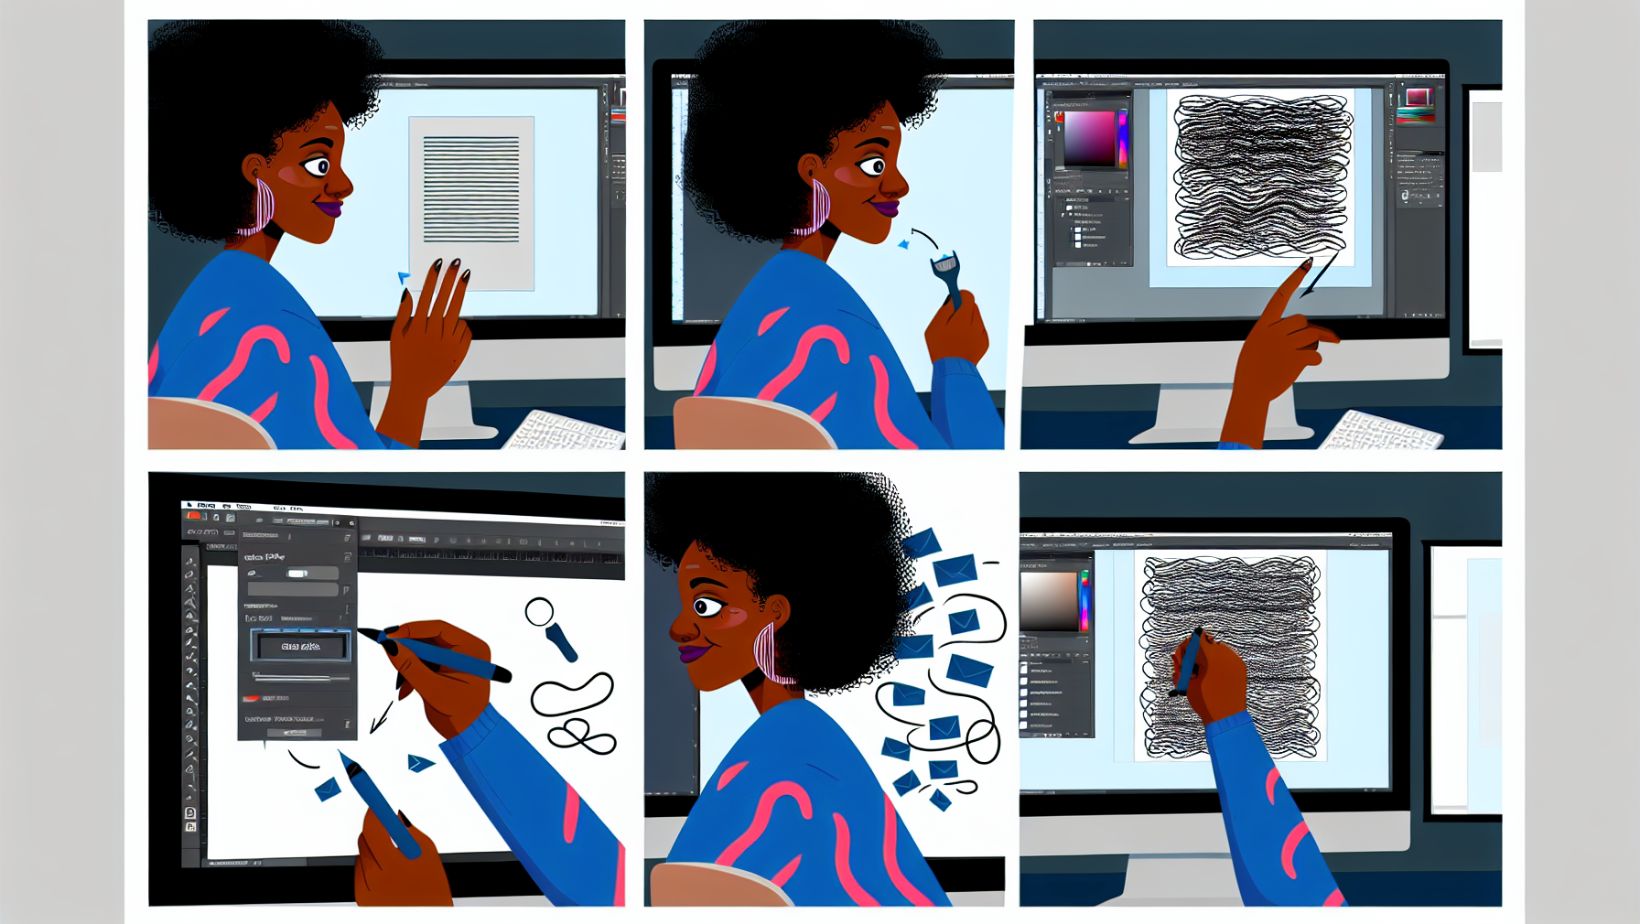
Creating Your First Layout
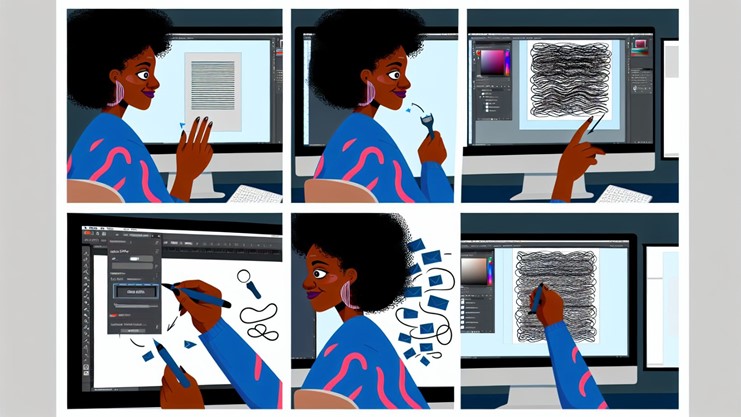
After familiarising yourself with the tools of your chosen layout software, you’re ready to craft your inaugural layout. Here’s how:
-
Start by creating a new document and specifying the intended size and orientation based on the design purpose.
-
Use the Type Tool to add text elements to the layout, ensuring that paragraph styles are applied for consistency.
-
Access the Paragraph Styles panel to create and apply consistent styling to text throughout your layout.
Adjust character formatting to fine-tune the appearance of text, including font size and letter spacing. Import graphics by using the Place command and position them within frames to achieve the desired layout structure.
Setting Up Your Document
To start your layout in InDesign, follow these steps:
-
Create a new document by selecting ‘File’ > ‘New’ > ‘Document’.
-
During the setup, you can choose a custom page size or use preset sizes like A4 or Letter, and determine the document’s orientation.
-
Set the margins and bleed in the New Document dialog box to accommodate for print trimming. Standard bleed is typically 0.125 inches (3mm).
Utilise the Bleed view mode to preview the document as it will appear after printing and trimming.
Adding Text and Images
Once your document is set up, you can start populating it with content. To import graphics and images into the layout, use the Place command, which also offers a variety of import options. When you import images or text, InDesign creates a corresponding frame for the content if one is not already present.
Text frames can be linked together, allowing text to flow smoothly from one frame to another, which is particularly useful for designs with multiple columns or documents with several pages. InDesign’s Place feature also enables the addition of both text and image placeholders within a layout, which can be utilised before the actual content is available.
Applying Styles and Formatting
With your content in place, it’s time to add some flair. Character and Paragraph Styles in Adobe InDesign are essential for achieving consistent formatting throughout a document. They save time when working on documents with repetitive text elements.
Styles can be created, managed, and stored via the Character and Paragraph Styles panels, making it easy to apply consistent text formatting. To apply a Character or Paragraph Style, select the text and choose the desired style from the panel. This will override any local formatting with the style’s defined settings.
In addition, you can adjust character formatting to fine-tune the appearance of text, such as changing the font size and letter spacing. Paragraph Styles offer advanced options such as Paragraph Borders, Shading, and Keep Options that provide greater control over the visual design of text elements.
Features such as Drop Caps and Nested Styles allow for the creation of sophisticated formatting within a paragraph, such as enlarged initial letters and varied character formatting patterns. GREP Styles enable the application of a character style to pieces of text that match a specified GREP expression, automatically formatting text patterns like dates or phone numbers.
Enhancing Your Layout with Creative Cloud Assets
Your layout can be further enhanced with Creative Cloud assets. Adobe Creative Cloud Libraries provide a centralised place to manage and access design components and assets across different Adobe applications. Adobe Sensei, the AI platform within Adobe Creative Cloud, enables users to efficiently search and sort Creative Cloud assets.
The features in Creative Cloud Libraries allow for shared access and collaboration on assets among team members, ensuring design consistency across multiple projects. InDesign’s integration with Creative Cloud supports using motion graphics templates and a seamless workflow with other Adobe applications.
Integrating Adobe Stock
Adobe Stock is a treasure trove of high-quality images and graphics that can be accessed within InDesign by selecting ‘CC Libraries’ from the ‘Window’ menu. Graphics from Adobe Stock can be added to InDesign libraries and placed in documents as linked or embedded assets. You can directly drag and drop Adobe Stock assets from the CC Libraries panel into your InDesign layout. Additionally, with Adobe Capture, you can create your own assets to enhance your designs.
Adobe Stock assets can be directly licensed within InDesign, offering a seamless workflow and access to over 100 free templates to assist in layout design.
Utilising Adobe Fonts
Adobe Fonts offers a diverse selection of font types such as:
-
serif
-
sans-serif
-
script
-
display
These fonts are all easily accessible through Adobe InDesign thanks to Creative Cloud integration. Within InDesign, users can conveniently manage their fonts by activating or deactivating Adobe Fonts as needed without installing them on their local system.
Designers can leverage the live font preview feature in InDesign to see real-time changes in typography as they experiment with different Adobe Fonts.
Exporting and Sharing Your Layout

After fine-tuning your layout, the next step is to present it to the world. InDesign layouts can be exported to a variety of file formats including:
-
PDF
-
EPUB
-
HTML
-
IDML (for backward compatibility with older versions of InDesign)
Exporting to PDF, EPUB, and Other Formats
When preparing a document for print, it’s essential to export it to PDF format with appropriate crop marks and bleed settings to maintain the integrity of the design during the printing process. Customised PDF presets help tailor the PDF output to specific needs, ensuring an optimal balance between file size and quality. Layers with the same name can be merged when exporting a book to PDF, which simplifies document organisation and prevents the duplication of layers.
For a digital reading experience, InDesign supports exporting documents to the EPUB3 format, featuring improved HTML5, CSS3 compatibility, and global language support. Additionally, InDesign allows the creation of interactive PDFs for a more engaging experience. Setting images to span the full width of an eReader screen is possible through the Object Export Options when creating an EPUB. New exporting features in InDesign allow for appended file names with page information, like page numbers and size, facilitating better file management post-export.
Collaborating with Others
Creative collaboration is made easy with Adobe Creative Cloud. Collaboration tools, such as the Share for Review and Manage Feedback features, enable team members to review, provide feedback, and share documents for viewing and commenting. Creative Cloud Libraries facilitate team collaboration by allowing them to organise and share design elements like colours, logos, and images, which promotes brand consistency across multiple projects.
Cloud documents are integral to Creative Cloud, offering the possibility for team members to access, edit, and save their work across different devices, including mobile apps, and invite others to edit directly in various Creative Cloud apps.
Tips for Efficient Layout Design
Though creating a layout can be labour-intensive, you can streamline the process. Using parent pages and templates in InDesign saves time and ensures consistency across multiple projects.
InDesign also enhances efficiency by allowing layout work to proceed concurrently with content review, ensuring projects are ready for printing on schedule.
Parent Pages and Templates
Parent pages in Adobe InDesign are used to place design elements that are common across multiple pages, such as page numbers, headers, and borders. Editing a master page automatically updates all pages that the master is applied to, ensuring consistency throughout the document. Multiple parent pages can be created for different sections of a document, like chapters in a book, each with distinct design elements.
New parent pages can be created based on existing ones, allowing for variations in design while maintaining certain elements.
Keyboard Shortcuts
Keyboard shortcuts in Adobe InDesign can significantly speed up the design process and enhance workflow efficiency. Here are some useful shortcuts:
-
“Ctrl” + “+” or “Command” + “+” zooms in on the document
-
“Ctrl” + “-“ or “Command” + “-“ zooms out
-
Pressing ‘V’ selects the Selection tool
-
Pressing ‘A’ selects the Direct Selection tool
-
Quickly toggle between the Selection and Direct Selection tools with ‘Ctrl+Tab’ on Windows or ‘Command+Control+Tab’ on a Mac
These shortcuts can aid in swift switching between object manipulation tasks and improve your productivity in Adobe InDesign.
To move objects in precise 45° increments, hold ‘Shift’ while dragging with the Selection tool. Accessing the Control panel for object properties is swift with ‘Ctrl+6’ on Windows or ‘Command+6’ on Mac.
Learn With Us at City Desktop
Adobe InDesign is a powerful tool for layout design, offering a range of features that help you create professional and aesthetically pleasing designs. Knowing the basics of InDesign can elevate your design game. So, why wait? Start exploring the world of Adobe InDesign and let your creativity soar!
Interested in honing your InDesign skills? Consider joining us at City Desktop. We offer comprehensive courses and resources to help you master all aspects of Adobe InDesign. Visit our website to explore our InDesign Courses, starting with the Essentials.
Frequently Asked Questions
How do you create a layout in InDesign?
To create a layout in InDesign, start by choosing the page size and orientation, setting the number of pages and whether to use facing spreads. Then, design the layout by adding text and image placeholders and enhancing it with fonts and custom images. Finally, export the layout to finalise it.
How do I create a layout grid in InDesign?
To create a layout grid in InDesign, simply click on "Layout Grid" in the New Document dialog box and adjust the layout settings as needed. This can also be applied to an existing document or to one created with Margins and Columns.
How fast can I learn InDesign?
You can gain a basic understanding of Adobe InDesign, including building layouts and preparing work for publication, in as little as one to two days, but mastering it may take a few weeks to a few months. With dedication and practice, you can become proficient in InDesign.
Can I use InDesign for free?
No, InDesign is a premium software that requires a valid license for access. However, Adobe does offer a 7-day free trial of InDesign which includes all features and updates.
What are the system requirements for running Adobe InDesign?
To run Adobe InDesign, Windows users need Windows Server 2019 or 2022, a multicore processor, 8 GB of RAM (16 GB recommended), and 3 GB of available hard-disk space, while Mac users require macOS version 11 or later, a multicore processor, 8 GB of RAM (16 GB recommended), and 4 GB of available hard-disk space.
 phone
phone
 email
email
 enquiry