Australia
 New Zealand
 Singapore
 Hong Kong
 Malaysia
 Philippines
 Thailand

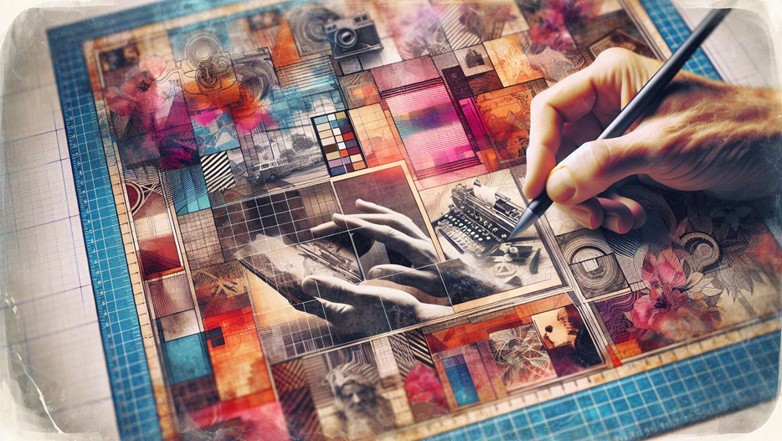
Learn the art of creating a collage portrait in Adobe InDesign with this clear-cut guide. From initial setup to intricate layering and final touches, we’ll show you how to combine images and typography into a striking design. Get ready for practical tips that will transform your creative concepts into professional collage portraits, all within the powerful InDesign platform.
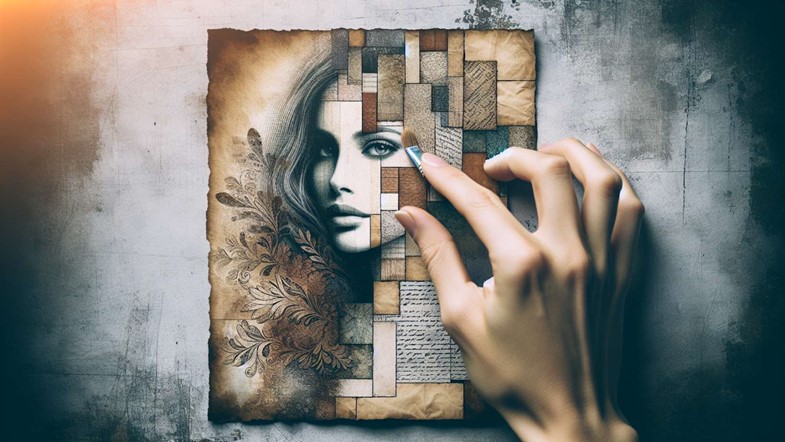
Understanding Collage Portraits

Collage portraits are an age-old artistic endeavour that has evolved alongside human creativity. Born from a desire to piece together fragments of material into a unified visual story, collage portraits blend:
-
Paper
-
Photographs
-
Fabric
-
A variety of other materials
into a cohesive work of art. This technique has waltzed through history, from its early beginnings in China around 200 BC, through its role in European religious art and the Victorian era’s photocollage, to its significant influence on the Cubist and Surrealist movements.
Nowadays, collage has intricately integrated itself into contemporary design. Exhibitions such as the Sidney Janis Gallery’s New Realist Exhibition in 1962, which highlighted the flexibility of collage within Pop Art, clearly demonstrate the medium’s evolution beyond conventional painting and drawing. Collage portraits continue to offer a dynamic canvas for artists and designers to explore personal consciousness and societal themes, proving that this art form is as relevant now as it has ever been.
Getting Started with Adobe InDesign
Adobe InDesign emerges as the preferred software for many designers when creating collage portraits. Known for its extensive page design and layout capabilities, InDesign is the ideal tool for crafting everything from sleek posters to interactive eBooks.
But what makes InDesign particularly special for collage artists is its user-friendly interface and its ability to work fluidly with other Adobe staples like Photoshop and Illustrator—improving workflow for those who like to mix media and techniques.
This potent software effortlessly facilitates the creation of dynamic, layered photo collages. It’s brimming with features that allow for:
-
Precise image scaling
-
Cropping
-
Text Layout
-
Handling multiple image formats
-
Facilitating effect applications
Additionally, InDesign’s compatibility with various word processors and a wide selection of output options, including PDF and SWF files, makes it an indispensable tool for designers looking to publish their collage portraits in diverse formats.
Gathering Your Resources
Before you start creating your photo collage, it’s worth taking some time to appreciate the necessity of assembling cohesive and pertinent resources. Achieving a unified look throughout your collage is paramount, especially if it’s intended for campaigns or to tell a visual story of key moments.
Your choice of imagery and fonts will establish your project’s ambience, so make sure they align with your main concept through careful selection.
Choosing Images
When sifting through multiple photos for your collage, consider the following:
-
Opt for images that are high in quality.
-
Choose images where the subjects take centre stage and fill a significant portion of the frame.
-
Minimise dead space to keep the viewer’s focus on what matters.
-
Ensure that every image you select contributes to the narrative you’re trying to weave, whether it’s a personal memory or a brand message.
Colour schemes significantly influence visual unity. Here are some tips to achieve a harmonious visual experience:
-
Choose photos that share similar hues or tones
-
If the images don’t match perfectly, apply the same filter across different photos
-
Simplify the collage’s appearance to enhance overall cohesion
By following these tips, you can create a visually unified collage.
Even rough, pixelated phone images can be incorporated into your collage along with other images to achieve a raw aesthetic, as long as they match the desired appearance and ambience.
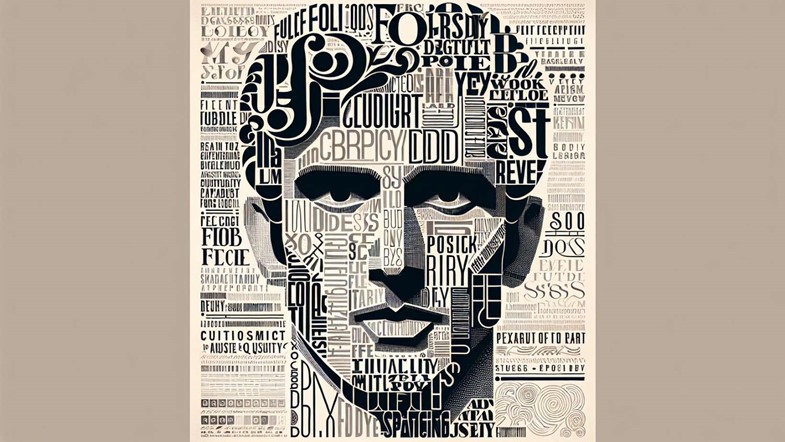
Selecting Fonts
The fonts you select can communicate nearly as effectively as the images themselves. To keep your design clean and uncluttered, consider using a single font and colour for your text. This approach helps to ensure that the textual elements complement rather than compete with the visual ones.
Remember, limiting the variety of typefaces to 2–3 can greatly contribute to a coherent and sophisticated aesthetic. The font you select for headlines or titles sets the tone, so choose one that embodies the essence of your collage portrait.
When it comes to pairing fonts, contrast is your ally. Here are some tips to keep in mind:
-
Use a bold serif for headlines and a subdued serif for body text to create a dynamic, yet cohesive design.
-
Reserve decorative fonts for making a statement with titles or headlines, and use them sparingly.
-
Consider the shape and width of your fonts. Pairing a narrow sans serif with a wider counterpart can create harmony and contrast.
Opting for classic and well-renowned typefaces can also safeguard your design against becoming dated too quickly.
Creating Your Collage Portrait
Now, let’s get down to the intricate process of creating your collage portrait in Adobe InDesign. In setting up your document and placing images and designing the actual collage, you’ll be equipped with all the tools you need to bring your vision to life.
Bear in mind that consistency is paramount, and using paragraph and character styles in InDesign can help achieve a uniform look across your collage portrait, thus streamlining your design process along using the transcript.
Setting Up the Document
Initiate your creative venture by setting up a new document in InDesign. Navigate to the New Document window and select the Print category to ensure your collage is ready for both digital and physical display. Consider the size of your collage carefully; starting with a tabloid size of 11 by 17 inches gives you ample space for creativity, but don’t hesitate to adjust according to the scope of your project.
Make sure to deselect Facing Pages for individual page layouts. It’s also essential to add a standard bleed of 0.125 inches, which ensures a print right to the edges, eliminating any unattractive margins. Once you’ve tweaked these settings to your liking, hit ‘Create’ and step into the blank canvas of your new document workspace, ripe for the collage-making process.
Placing Images

InDesign’s Rectangle Tool enables you to create frames that serve as placeholders for your images. Start by constructing an image frame that encompasses the entire page, ensuring that your core image makes a grand entrance.
As you introduce more photos into the mix, use the loaded cursor to drag out additional frames, and employ the arrow keys to intuitively add columns and rows, establishing a visually appealing photo grid. With the ability to place images effortlessly, your collage will come together seamlessly.
By holding down the Command or Ctrl key and tapping the arrow keys, you can fine-tune the gaps to perfection. With the Gap tool in the tools panel, you can maintain even spacing between images while also sizing and positioning the frames to your liking.
Designing the Collage
With the images in place, it’s time to design the collage itself. Here are some tips to help you:
-
Trace the main features of your core image using the Pencil Tool. This can act as a valuable guide for where to position other collage elements.
-
Use layers to organise each component with ease.
-
Employ a grid to keep your images neatly organised.
-
If some images don’t fill their frames, don’t fret. You can use the Gradient Feather effect to smoothly blend them in.
-
Alternatively, you can use color overlays with the Transparency set to Color to merge images while retaining their details and vibrancy.
Explore the visual possibilities by experimenting with image spacing using the Layout options, and don’t be afraid to manipulate their size and orientation for added variety. Sometimes, embracing the visual overload aesthetic with an abundance of elements can work wonders, especially if it aligns with the brand or intended message, adding an extra layer of interest to your collage.
Enhancing Your Collage with Textures and Effects
Some popular textures and effects to consider include:
-
Vintage filters
-
Grunge overlays
-
Watercolour brushes
-
Glitch effects
-
Double exposure
Experiment with different combinations and find the ones that best suit your artistic vision. Don’t be afraid to get creative and let your imagination run wild.
Adding Textures
Incorporating textures can lend your collage portrait a desirable vintage or handcrafted appearance. Think of it as dressing your images in layers of history or tactile appeal. By placing texture images, such as those with vignettes or film textures, into your design, you can impart a sense of nostalgia or artisanal charm.
Don’t be heavy-handed with the overlay; a 50% opacity with a Soft Light blending mode can strike the perfect balance, enriching your collage with depth without overpowering the underlying images.
You can also subtly incorporate textures using transparency effects such as Hard Light mode. Adjusting the opacity levels lets you control the intensity of these effects, ensuring they complement rather than dominate your design.
And when you want to infuse a section of your collage with color, consider color overlays. Applying them with the Transparency effect set to Color can introduce vibrant hues while allowing the details of the images beneath to peek through.
Using Effects
The Gradient Feather effect, for instance, can create a delicate transition between images, giving the impression that they’re fading into one another or the background. Blending modes such as Overlay, Soft Light, and Hard Light offer a playground of visual effects, affecting how colours interact and giving you the power to add depth or adjust the luminance of your artwork.
Transparency effects come in handy when you aim to overlay colours and textures while keeping the underlying images visible. This technique contributes to the complexity and depth of your collage, creating an interplay of visuals that captivates the viewer.
If you’re dealing with grouped elements, the Isolate Blending option is the best option, ensuring that the effects within the group don’t spill over and affect other parts of your design.
Incorporating Text Elements
Adding text elements to your collage can provide context or supplement the narrative, making them a potent inclusion. However, the key to incorporating text is simplicity and readability. Use a limited amount of text with a single font and colour to maintain a clean look and ensure the text doesn’t overwhelm the images.
Adding Text Frames
Text frames serve as conduits for your words, and InDesign gives you comprehensive control over these structures. They can be reshaped, resized, and relocated with just a few clicks using the Selection tool. The Type Tool (T) is your instrument for adding and formatting text within these frames, ensuring that your message harmonises with the visual elements of your collage.
Moreover, text frames can be configured with multiple columns independently of the page’s columns, and text can flow seamlessly from one frame to another. The Text Frame Options dialog box is your command centre for tweaking properties like vertical alignment, inset spacing, and applying baseline grids tailored to each frame.
Typography Tips
When selecting fonts, keep your design’s goal and audience at the forefront of your decision-making. The right choice can underscore your intended message and resonate with your audience. Remember, readability is crucial; your selected font must be legible to avoid eye strain and ensure viewers stay engaged with your content.
Typography is not just about the font choice; it’s also about the space between the letters and lines. InDesign offers the tools to adjust leading, kerning, and tracking, allowing you to fine-tune the spacing for optimal legibility and aesthetic appeal. This manipulation of space ensures that your text is not only readable but also visually integrated with the rest of your collage elements.
Exporting and Sharing Your Collage Portrait
Adobe InDesign provides a suite of options to export your collage in the best possible quality. If you're aiming to reduce file sizes without sacrificing detail and ensure your images pop on any screen, the right export settings will make all the difference.
Exporting as PDF or JPEG
When it comes to exporting your collage portrait, InDesign makes it simple to choose the right format for your needs. The JPEG option is perfect for online sharing, with quality settings that range from low to maximum and allow you to balance image quality against file size. On the other hand, Adobe PDF is the format of choice for print, creating a reliable file that retains interactive features and is easier to proof.
Within InDesign, you’ll discover Adobe PDF presets designed to cater to specific output needs. ‘High-Quality Print’ is ideal for a print-ready file, while ‘Smallest File Size’ compresses your document for web or email distribution. And if you’re aiming for the web, remember that file format and compression level are crucial for maintaining image quality while minimizing file size.
Sharing Online
Each social media platform has its own set of image size and resolution guidelines, which you should consider to ensure your collage displays correctly. For instance, Instagram favours square images, so exporting your collage in a 1600x1600 pixel format might be ideal.
Ensure that you own or possess the rights to all the images used in your collage before making it public, particularly if it’s intended for commercial use. And don’t forget, faster websites with optimised images not only enhance user experiences but also improve SEO rankings, making image optimisation a critical step for online success.
In a Nutshell: Creating a Collage Portrait in Adobe InDesign
Creating a collage portrait in Adobe InDesign involves a series of steps that take you from concept to completion. Here’s a step-by-step guide to help you through the process:
-
Plan Your Composition: Before you open InDesign, have a clear idea of your collage portrait’s theme and composition. Sketch out a rough layout if necessary.
-
Set Up Your InDesign Document: Open InDesign and create a new document. Choose the dimensions that fit your project, and don’t forget to set your margins and bleeds appropriately.
-
Gather and Place Your Images: Import your images into InDesign. Use the ‘Place’ command (Ctrl/Cmd + D) to insert images into your layout. Arrange them according to your initial plan.
-
Layer and Arrange Elements: Utilise layers to organise your images, text, and other elements. This will make it easier to manage your collage as it becomes more complex.
-
Apply Effects and Textures: Add artistic flair to your collage by applying effects like transparency and blending modes. Textures can add depth and interest to your composition.
-
Incorporate Text: Use the Type Tool to add headlines, captions, or other text elements. Be mindful of font choices and readability.
-
Refine Your Design: Take a step back and look at your collage as a whole. Make adjustments to image placement, text, and effects as needed.
-
Export Your Collage: Once you’re satisfied with your collage, export it as a PDF or JPEG. Choose the right export settings for your intended use—print or web.
-
Review and Adjust: Before sharing your collage, review the exported files. Make any necessary adjustments and re-export if needed.
Envision having adhered to every step in this guide, and now it’s time to bring an example to life. This step-by-step showcase will solidify your understanding and inspire you to experiment with your own designs.
Our courses offer a variety of features to enhance your experience on your YouTube channel, including the ability to show transcript alongside the video for better understanding. This feature ensures that you can follow the content with ease and never miss any crucial information.
Learn with Nexacu
Are you motivated to elevate your Adobe InDesign skills? At Nexacu, we offer a suite of resources and an InDesign tutorial that can help you expand your knowledge and refine your techniques. Whether you’re looking to deepen your understanding of:
-
Collage portraits
-
Typography
-
Layout design
-
Interactive documents
Nexacu is your partner in creative growth.
Immerse yourself in their learning resources and become part of a community of designers with similar interests as you stride towards mastery.
Frequently Asked Questions
How do I make a photo collage in InDesign?
To make a photo collage in InDesign, start by creating a shape, then layout your photos and group them together. Finally, cut the grouped images, paste them into the shape, and you're done!
How do I put 3 pages side by side in InDesign?
To put 3 pages side by side in InDesign, click on the pages icon, create new pages, and drag them until they are next to each other in a spread. Then, release the mouse to place the pages side by side.
How do I make one page vertical in InDesign?
To make a single page vertical in InDesign, simply click and drag your pages to stack them vertically instead of horizontally.
Can I use my own photographs in a collage portrait?
Yes, you can definitely use your own photographs in a collage portrait. This adds a personal touch and ensures that you have the right to use the images, which is important for public sharing or commercial use.
What's the best way to ensure my collage looks good when printed?
To ensure your collage looks good when printed, export it in Adobe PDF format using the 'High-Quality Print' preset in InDesign, and include bleed in your document settings to avoid white edges. This will help ensure a high-quality print result.